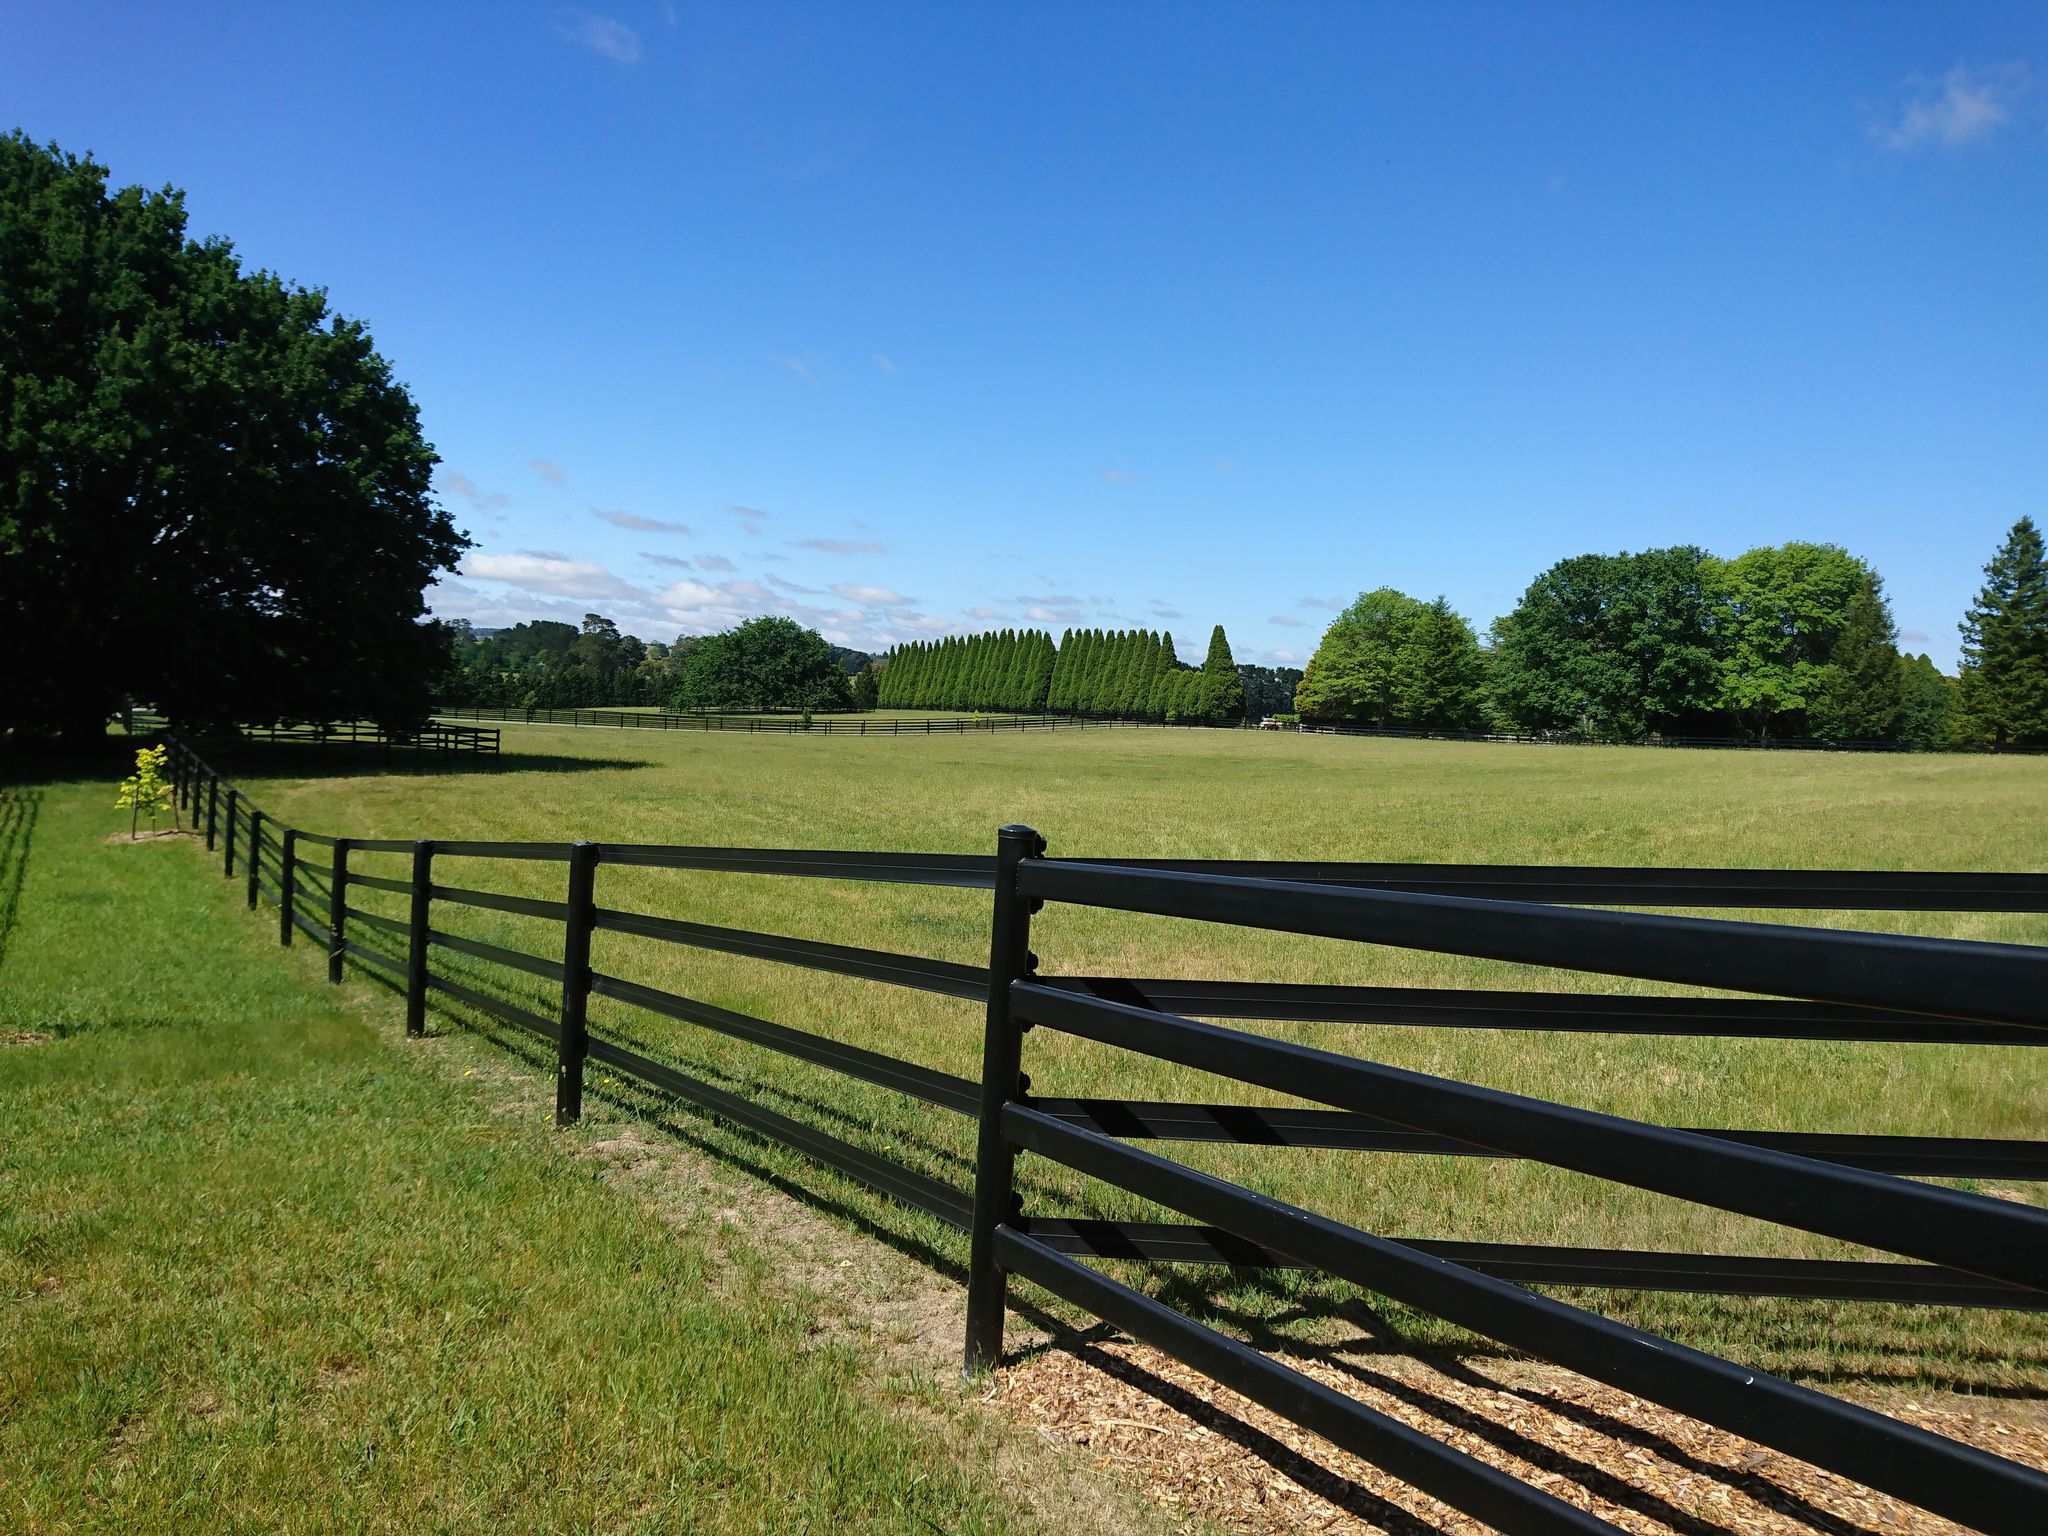
Installing your horse fencing is the most important part of the job. Just because other people can sell you horse fencing doesn’t mean they have the knowledge and experience that goes with years and years of many different equine fencing installations like the team at Duncan Equine Group. To help you with installing your horse fence so it performs as a good, strong and long-lasting product we have put together our top tips for you.
Tips
1. End/Box assemblies
A strainer post should be half in and half out – so if your fence is 1.2m to 1.5m high fence then same amount of post should be in the ground. The strainers should also be a minimum 3m apart in the assembly. Check out our latest blog for end assembly help.
2. Line posts
When installing your horse fencing, make sure your line posts are 2/3 out of the ground and 1/3 in the ground. They should also be level with your strainer posts. DO NOT CHAINSAW THEM TO HEIGHT!!! Ram them in further!
Line posts should be put in using a wire guideline just above ground level and run between your 2 corner strainers. The good thing about using flexible Stallion Rail is that the posts can be put out to 4 to 5 meters. We don’t recommend them being any further than 5m. They should flow with the ground height not be level to the naked eye, especially if you have undulating land.

3. Choose the right buckles for your strainers
We have straight attaching and 45 degree bent end brackers – if you’re not sure, ask one of our friendly staff. One of the most important things with installing your horse fencing, attach the end buckle the right way around. They should sit flat to the post and face the direction your fence is going to run. Do not wrap the rail through the bracket and around the post. We have a handy tool for making the job of bending the horse rail to fit into the buckles much easier.
4. Please don’t drag the rail out
Make sure you give yourself some length then attach to the end buckle and roll it out. It is handy to have someone walking behind you slipping the rail into the top or side brackets as you go. Also, make sure the rail is not twisted as it goes into the brackets. It is annoying to get to the end and find a twist back near the start!! It may be worth investing in one of our rail spinners to assist you.
5. Use Tek screws in top brackets
When attaching the brackets to the posts use one Tek screw in the top of the bracket first. Then slip the rail into it and screw off the bottom of the bracket. Do this before the horse rail is pulled tight to avoid breaking any of the brackets.
6. Spooler Placement
For extra safety, aesthetics and to help prevent sagging and added weight to the rail place all the tensioning spoolers close to a post. (about 20 to 30 cm away)
7. Fence Tensioning
When it comes to tensioning your fence, don’t have your Stallion Rail too tight. It is best to have one full rotation of the spooler before the rail gets to the right tension. This will eliminate any breakages of the wire inside the rail.
8. Attach the electrics at the End Buckle
It has a little screw in it for that purpose. Keep the underground lead-out wire close to the strainer post and attach to the bottom rail (or the lowest rail that you want electric). You will need 2.5mm underground lead-out wire for electrifying all your rails together.
9. Gate Sizes
When choosing your gates, make sure they are a minimum of 3m (optimal 3.6m or 4.2m) as this will allow you to get most machinery and implements into your paddocks. When installing the posts for the gates, make sure you are as accurate as possible with your spacing to ensure there are no large gaps between the post and the hung gate where a horse could easily get its legs caught. Whilst hanging, make sure the top of the gate is level with the top of the fence at both ends.


